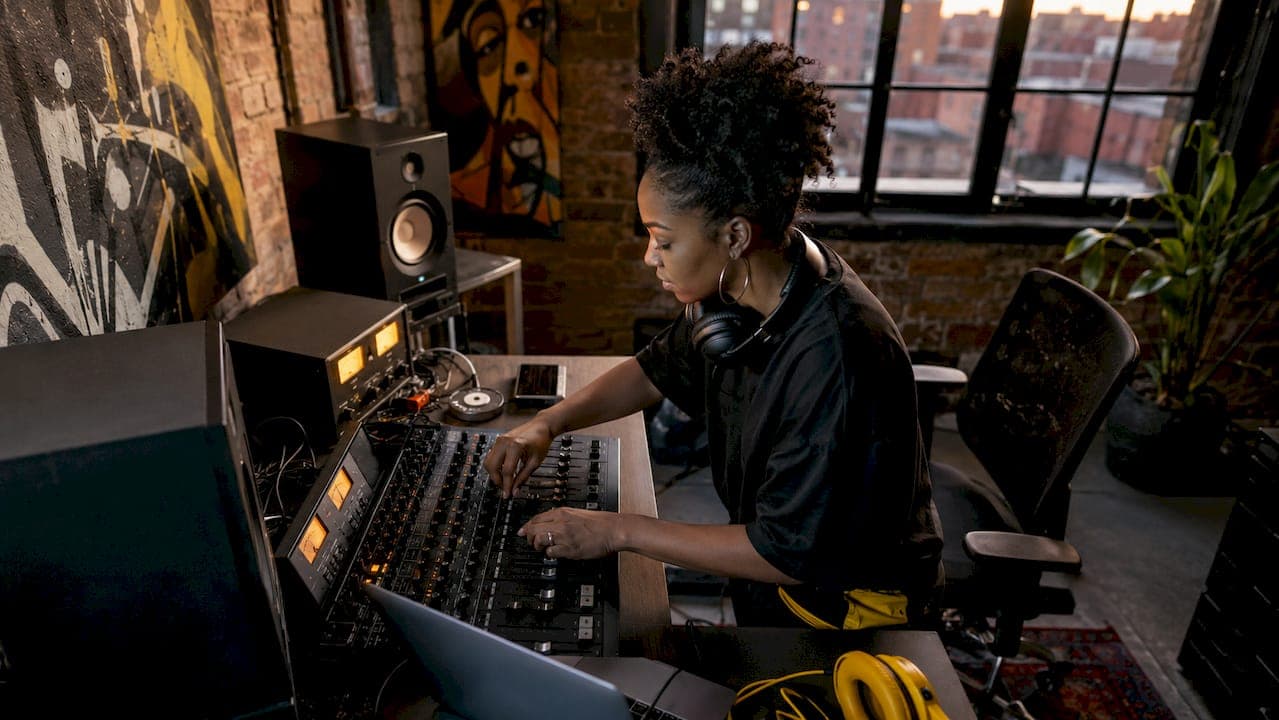
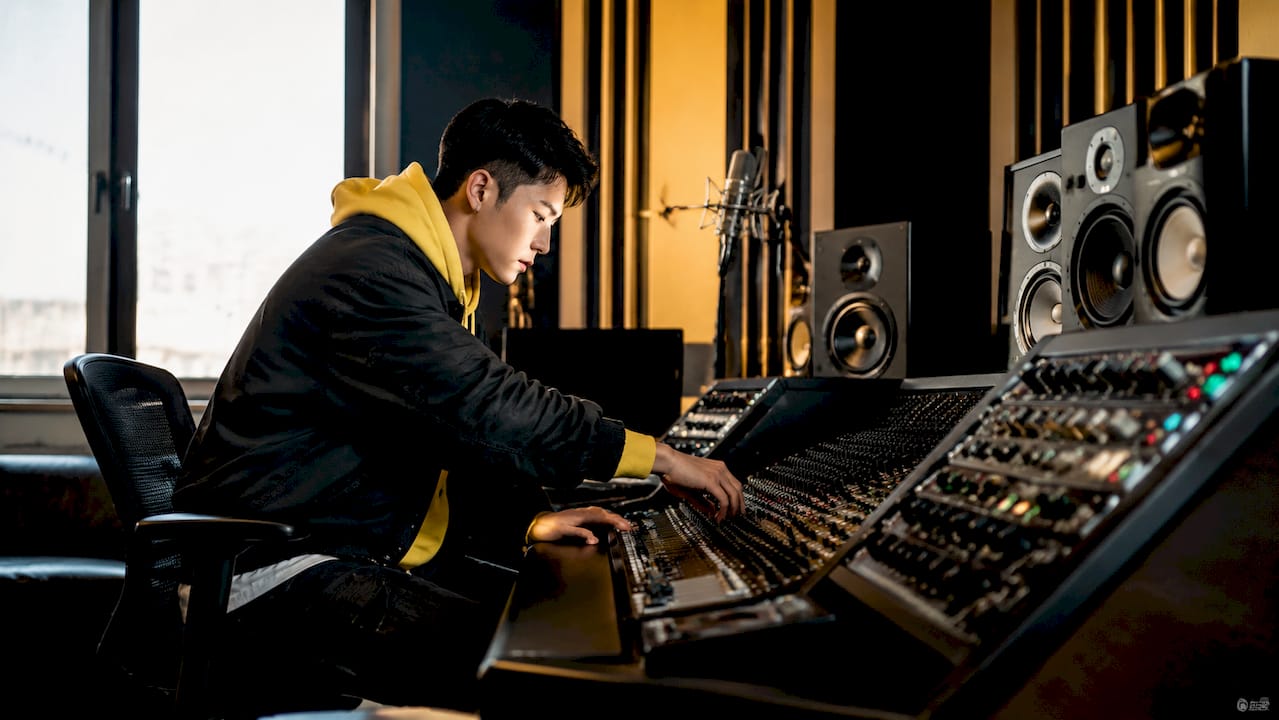
Independent mastering is the final stage of audio production where a producer applies targeted adjustments to a finished mix so it translates clearly across every playback system, from AirPods to car speakers to club sound systems. This process covers tonal balance, dynamic control, stereo imaging, and loudness management. What does the independent mastering process involve at its core? It involves critical listening, a flexible processing chain, and iterative decisions tailored to each track rather than any fixed preset sequence. For independent artists like those inspired by Neakjohnson's self-produced catalog, mastering is where raw mixes become release-ready records.
What key steps and techniques does independent mastering involve?
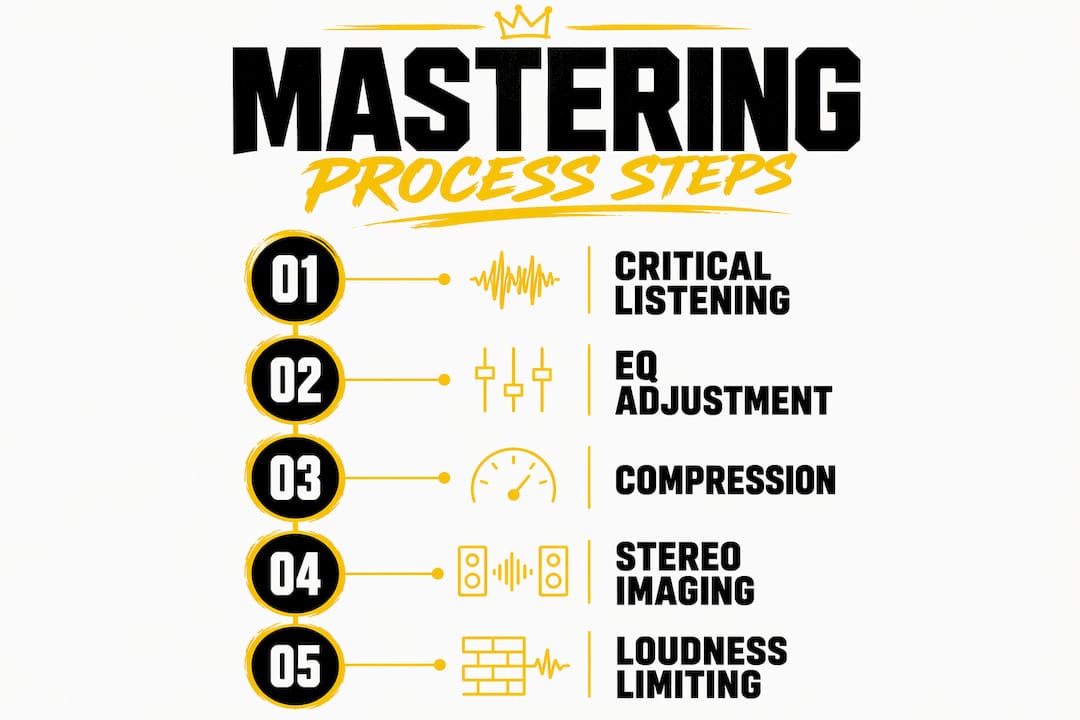
Mastering is reactive, not a fixed chain: engineers listen critically and apply processing in an order driven by what the specific track needs. That insight alone separates producers who get professional results from those who apply the same plugin chain to every song and wonder why things sound inconsistent. Here is how the process breaks down in practice.
- Critical listening first. Before touching a single knob, play the mix on multiple speaker systems and headphones. Identify problems: is the low end muddy? Are the vocals sitting too far back? Is there harshness in the 3 kHz to 5 kHz range? Document what you hear.
- EQ for tonal balance. Use a linear phase EQ for broad tonal shaping and a minimum phase EQ for surgical cuts. Boost where the mix lacks air or body; cut where it stacks up. Avoid boosting and cutting the same frequency range, which creates phase issues.
- Compression for glue and dynamics. A gentle bus compressor, such as a VCA-style unit modeled on the SSL G-Bus, adds cohesion without killing transients. Aim for 1 to 3 dB of gain reduction at most. Over-compression is one of the most common self-mastering pitfalls, causing loss of dynamics and listener fatigue.
- Stereo imaging adjustments. Widen the high frequencies slightly for air and presence. Keep the low end mono below 100 Hz to avoid phase cancellation on mono playback systems. Tools like iZotope Ozone's Imager or Brainworx bx_stereomaker handle this precisely.
- Limiting for loudness. Streaming masters target -14 LUFS integrated with a -1.0 dBTP true peak ceiling. Commercial pop aims for -9 to -7 LUFS. Set your limiter ceiling at -1.0 dBTP and push gain until you hit your target, then back off if the transients start smearing.
- Reference and compare. A/B your master against a commercial release in the same genre using a reference tool like REFERENCE by Mastering The Mix or simply a calibrated gain-matched comparison in your DAW.
Pro Tip: Export your mix as a 24-bit WAV file with -3 to -6 dBFS of headroom and no limiter on the master bus before you begin mastering. This gives your mastering chain the dynamic range it needs to work properly.
The iterative nature of mastering means you will loop back through these steps multiple times. A compression decision changes how EQ sounds. A loudness push reveals harshness you missed earlier. Treat each pass as new information, not a failure.
How does independent mastering compare to AI and professional services?
Independent mastering sits between two extremes: fully automated AI tools and dedicated professional mastering engineers. Each option has a real place in a producer's workflow, and the choice depends on budget, timeline, and release stakes.
| Factor | AI mastering (e.g., LANDR, eMastered) | Professional engineer | Independent mastering |
|---|---|---|---|
| Cost | $9 to $15 per track | $75 to $500 per track | Cost of tools only |
| Turnaround | Near-instant | 24 to 48 hours | Your own schedule |
| Dynamic nuance | Limited | High | Depends on your skill |
| Revision control | Minimal | Asynchronous revisions | Full control |
| Best use case | Demos, quick references | Commercial releases | Singles, EPs, skill-building |
AI mastering tools process audio algorithmically. They are fast and cheap, but AI mastering over-compresses and flattens dynamics in ways that hurt commercial releases. For a demo you are sending to a playlist curator or a reference track for a session, AI is fine. For a release you are putting on Spotify and Apple Music with your name on it, the limitations show.
Professional engineers bring what AI cannot: a trained human ear that preserves emotional arc and dynamics rather than just increasing loudness. They also provide an objective perspective on a mix you have been staring at for weeks. The tradeoff is cost and turnaround time, though online mastering workflows now allow asynchronous revisions that are often more thoughtful than rushed in-person sessions.
Independent mastering gives you full creative control at the cost of your own time and learning curve. For independent hip hop producers and artists building a catalog on a tight budget, it is the most practical path to consistent, professional-sounding releases.
What are the benefits of mastering independently for music producers?
The benefits of independent mastering go beyond saving money. They compound over time in ways that make you a better producer across every stage of the process.
- Full artistic control. You decide how loud, how compressed, and how wide the final master sounds. No one is applying their aesthetic preferences to your record.
- Faster iteration. You can revise a master in minutes when you get feedback from a collaborator or notice something on a new playback system. No waiting on a third party.
- Cost savings that scale. At $75 to $500 per professional master, a 10-track project costs up to $5,000. Independent mastering reduces that to the one-time cost of tools like iZotope Ozone or FabFilter Pro-L 2.
- Skill development that feeds back into mixing. Mastering feedback loops improve mixing by forcing you to identify consistent problems in your mixes. Every mastering session teaches you something to fix upstream.
- Authenticity preservation. You protect the dynamics and emotional intent of the track. Aggressive limiting to hit high loudness targets ruins dynamics and reduces emotional impact. When you control the process, you control the restraint.
Pro Tip: Build a reference library of 10 to 15 commercial tracks in your genre that you know sound great on every system. Use them every single mastering session to calibrate your ears before you touch your own mix.
The learning curve is real. Your first five masters will not sound like a seasoned engineer's work. But by track 20, you will hear problems in your mixes before you even get to mastering, which is the actual long-term payoff.
How to prepare your mixes correctly for independent mastering
Mix preparation is where most independent producers lose quality before mastering even starts. Get this right and your mastering chain has room to work. Get it wrong and no amount of processing fixes a mix that was exported incorrectly.
- Export at 24-bit WAV with correct headroom. Standard mix submission requires 24-bit WAV files with -3 to -6 dBFS of headroom. This preserves dynamic range and gives your limiter something to work with.
- Remove all master bus processing. Disable limiters, multiband compressors, and any loudness-maximizing plugins on your master bus before export. These processors were helping you monitor loudness during mixing, but they will fight your mastering chain.
- Organize your session and label your files clearly. Name files with the track title, BPM, key, and version number. If you are revisiting a master six months later or sending stems to a collaborator, clear labeling saves hours.
- Choose and provide reference tracks. Pick two or three commercial releases that represent the sound you are targeting. Load them into your mastering session at a gain-matched level so you can A/B objectively throughout the process.
- Define your loudness target before you start. Know whether you are mastering for Spotify (targeting -14 LUFS integrated), for a DJ set (closer to -9 LUFS), or for a vinyl cut (which requires specific low-end mono decisions and dynamic headroom). Each destination has different technical requirements.
The goal of mix prep is to hand your mastering chain the cleanest, most dynamic version of the mix possible. Think of it as setting up the best possible starting point rather than trying to fix problems after the fact.
Key takeaways
Independent mastering requires critical listening, a flexible processing chain, and correct mix preparation to produce professional-quality results that translate across all playback systems.
| Point | Details |
|---|---|
| Mastering is reactive | Apply EQ, compression, and limiting based on what each specific track needs, not a fixed preset chain. |
| Loudness targets matter | Aim for -14 LUFS integrated and -1.0 dBTP true peak for streaming platforms. |
| Mix prep is non-negotiable | Export 24-bit WAV at -3 to -6 dBFS with no master bus limiter before mastering begins. |
| AI tools have real limits | AI mastering suits demos and quick references; human or independent mastering is required for commercial releases. |
| Skill compounds over time | Every mastering session improves your mixing by revealing consistent upstream problems to fix. |
Why independent mastering changed how I think about finishing records
Most producers treat mastering as the last checkbox before uploading to DistroKid. That framing is wrong, and it costs them quality every single time. Mastering is actually where you find out the truth about your mix. Every weakness you glossed over in the mix session shows up the moment you start working a limiter hard.
The biggest shift in my thinking came from understanding that mastering decisions are not about adding things. They are about revealing what is already there. A well-prepared mix with proper headroom and no master bus processing often needs surprisingly little work. A mix that was over-processed during production fights every tool you throw at it.
I have also seen producers skip reference tracks entirely, which is the fastest way to lose perspective. Your ears adapt to whatever you are listening to. Without a calibrated reference, you will push the low end too far, over-brighten the top end, and end up with a master that sounds great in your studio and nowhere else.
The honest advice: do not wait until you have a "real" release to start mastering independently. Master every demo, every rough mix, every throwaway track. The reps are what build the ear. Professional engineers are worth every dollar for high-stakes releases, but the skill you build mastering your own catalog is something no one can sell you.
— David
Hear what professional-quality independent mastering sounds like
Neakjohnson's catalog is a direct example of what independent mastering done right actually sounds like in practice. Tracks from the Neak Johnson vs. The World EP were crafted with the same self-produced, detail-driven approach this article covers, from mix prep through final loudness targeting. If you want a real-world benchmark for how independent hip hop should translate across Spotify, Apple Music, and speakers of every size, explore the full catalog and use it as a reference point for your own mastering sessions. This is the standard independent artists can reach when the process is taken seriously from start to finish.
FAQ
What does the independent mastering process involve?
Independent mastering involves critical listening, EQ, compression, stereo imaging, and loudness limiting applied in a flexible order based on each track's specific needs. The goal is a final master that translates clearly across all playback systems at the correct loudness target for streaming or distribution.
What loudness level should I target when mastering for streaming?
Streaming platforms target -14 LUFS integrated with a -1.0 dBTP true peak ceiling. Commercial pop releases often aim for -9 to -7 LUFS for a louder competitive sound.
Is AI mastering good enough for a real release?
AI mastering is suited for demos and quick references, but it over-compresses and flattens dynamics in ways that hurt commercial releases. Human or independent mastering delivers the emotional nuance and translation quality a serious release requires.
How should I prepare my mix before mastering?
Export a 24-bit WAV file with -3 to -6 dBFS of headroom and remove all limiters and dynamics processors from the master bus. This gives your mastering chain the dynamic range it needs to work effectively.
How does independent mastering improve my mixing skills?
Mastering your own tracks forces you to identify consistent problems in your mixes, such as low-end buildup or harsh midrange frequencies. Over time, this feedback loop trains you to fix those issues during mixing before they reach the mastering stage.